Buying guide
Thunderbolt Cables
Our pick
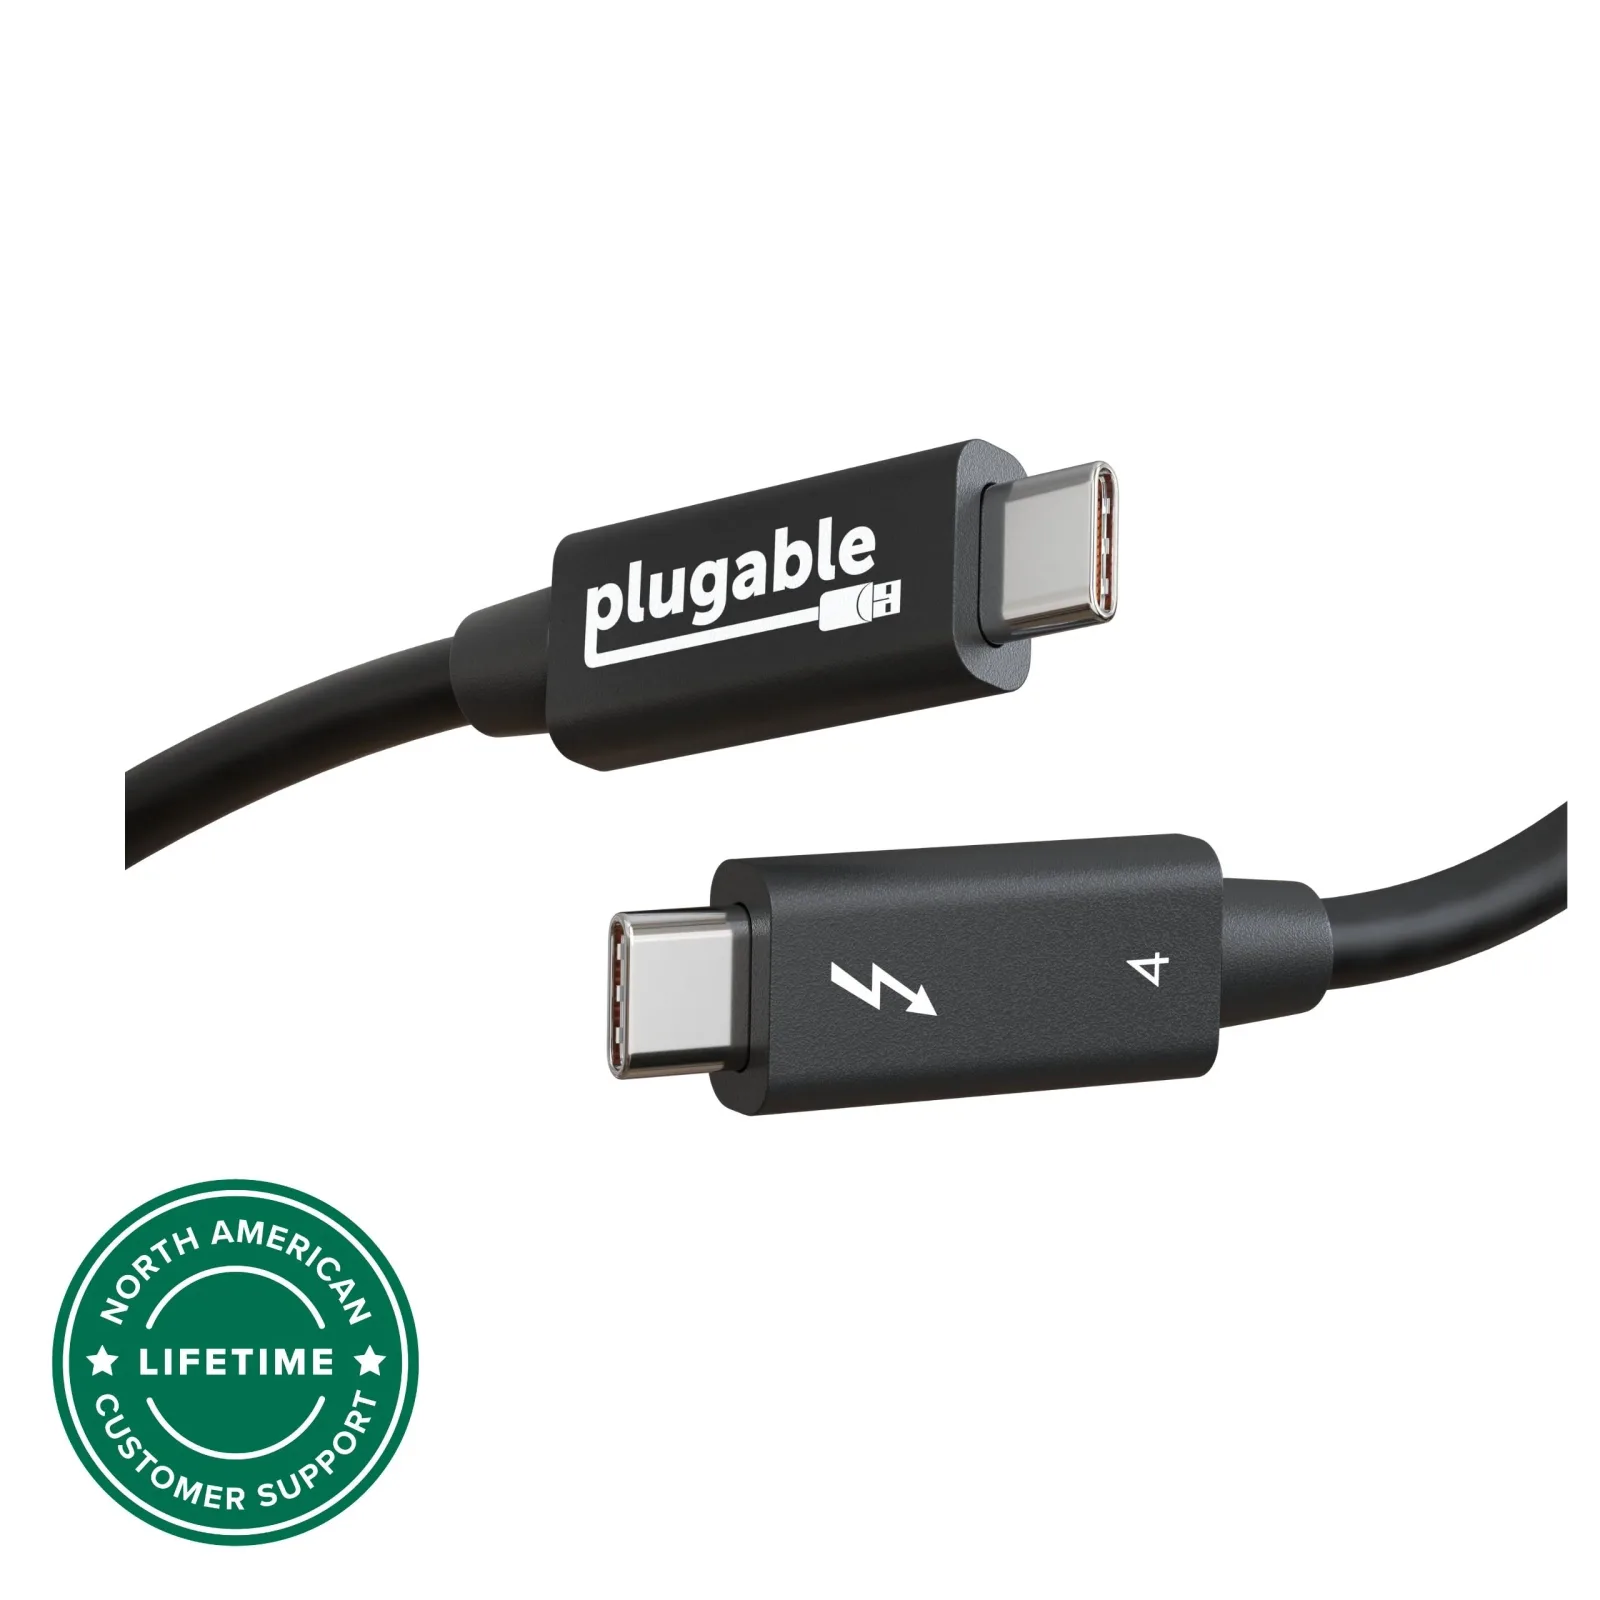
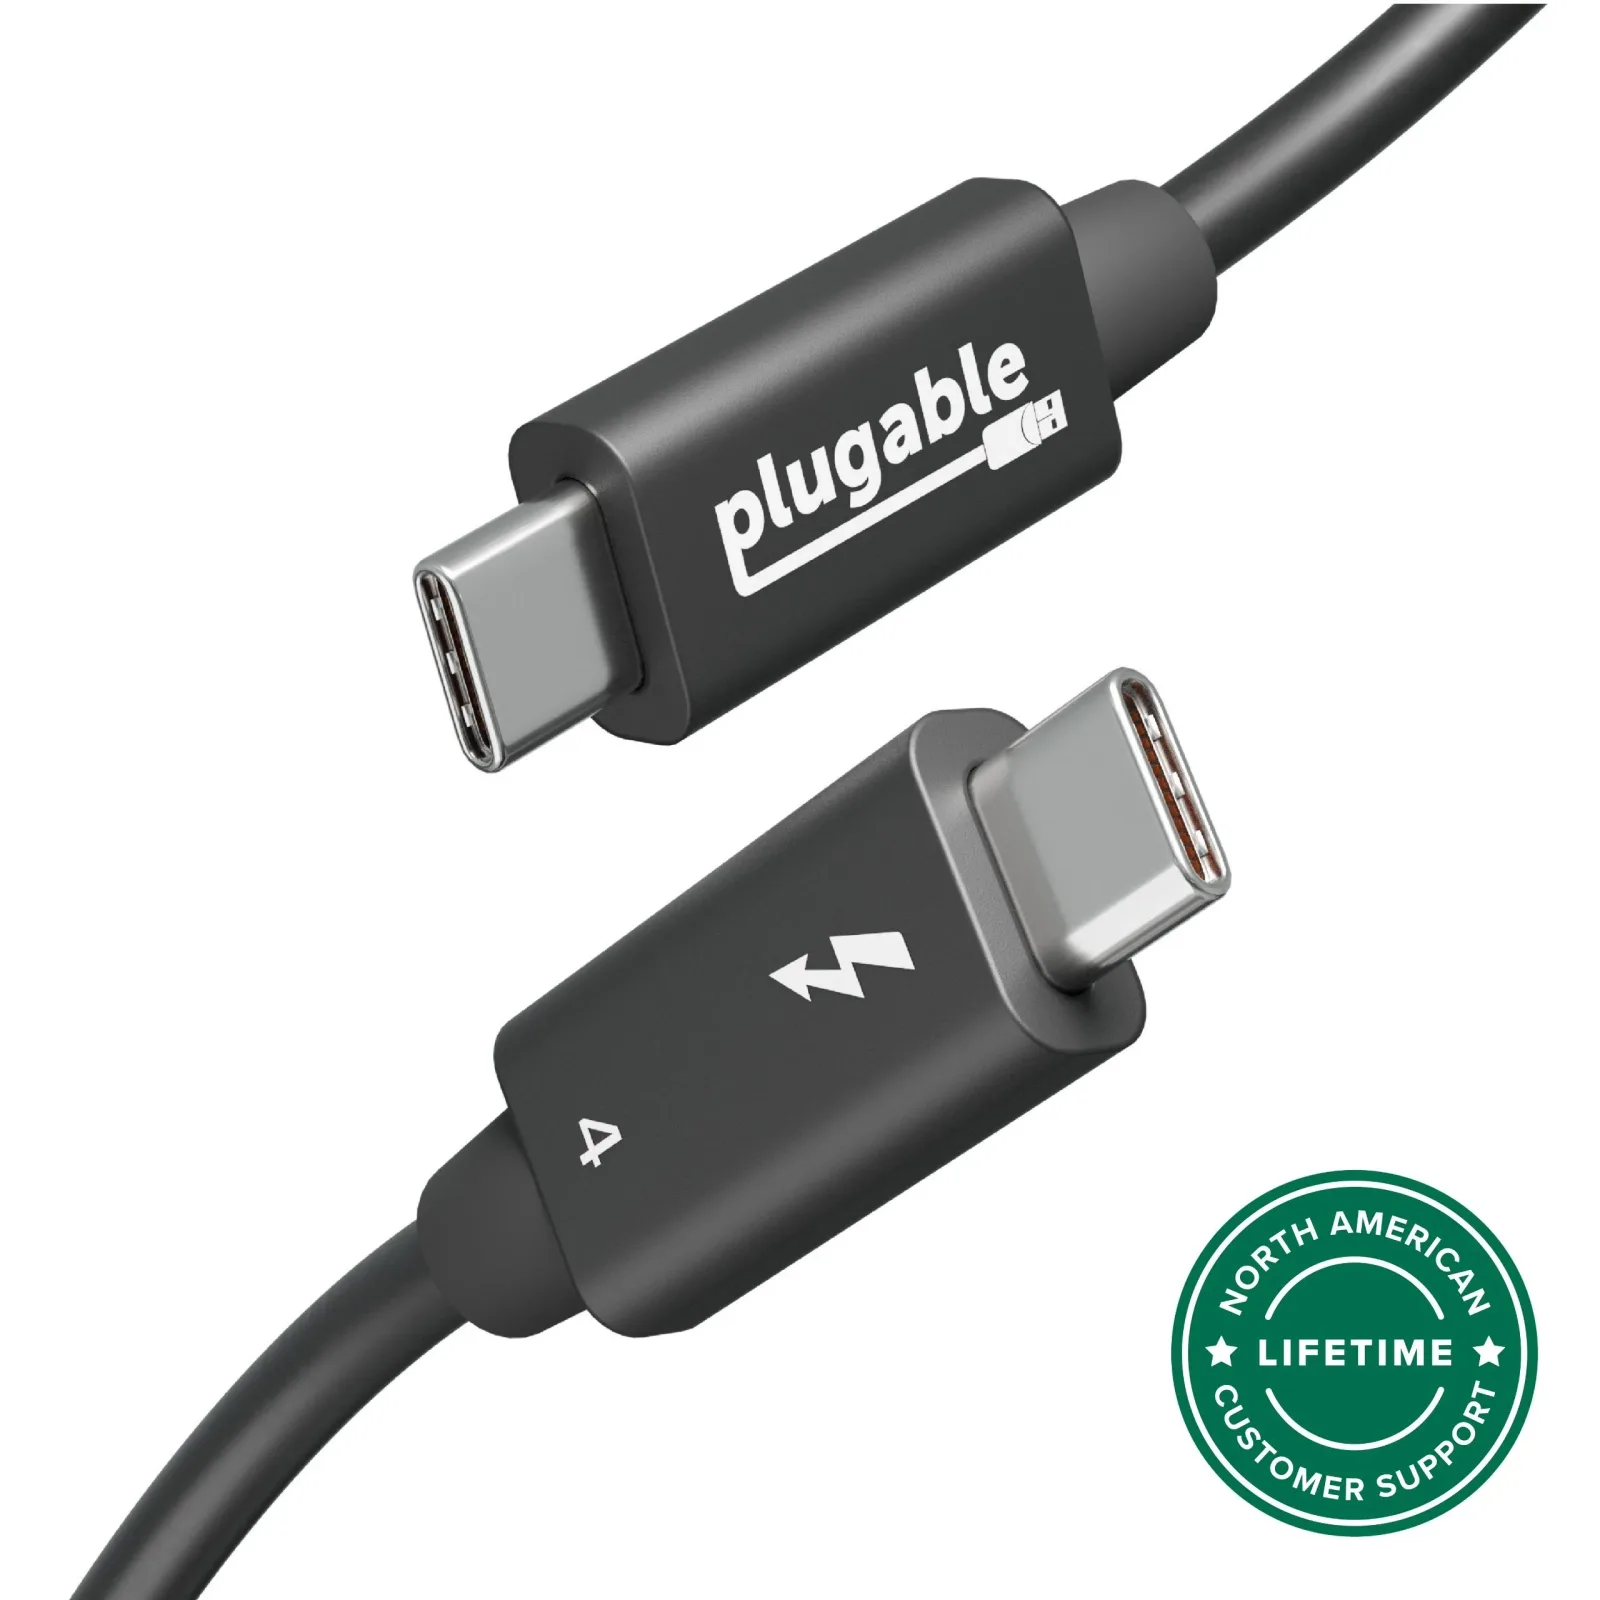
Plugable Thunderbolt 4 Cable (1m)
Choose the Plugable Thunderbolt 4 Cable (1 m) for a nearby Thunderbolt dock or drive when up to 100 W charging covers your laptop.1
Why this one
The alternatives
Other contenders
Plugable Thunderbolt 4 240W EPR cable (1m)
For a laptop that charges above 100W, the Plugable Thunderbolt 4 240W EPR cable (1m) takes over as the pick.1 Its 240 W charging rating suits a compatible high-power laptop, and it is USB-IF certified.15
For a laptop that charges above 100W
For charging above 100 W, choose a cable with a matching higher power rating.1 Choose the Plugable Thunderbolt 4 240W EPR cable for its 240 W charging rating and 40 Gbps data support.1
For a run across the desk
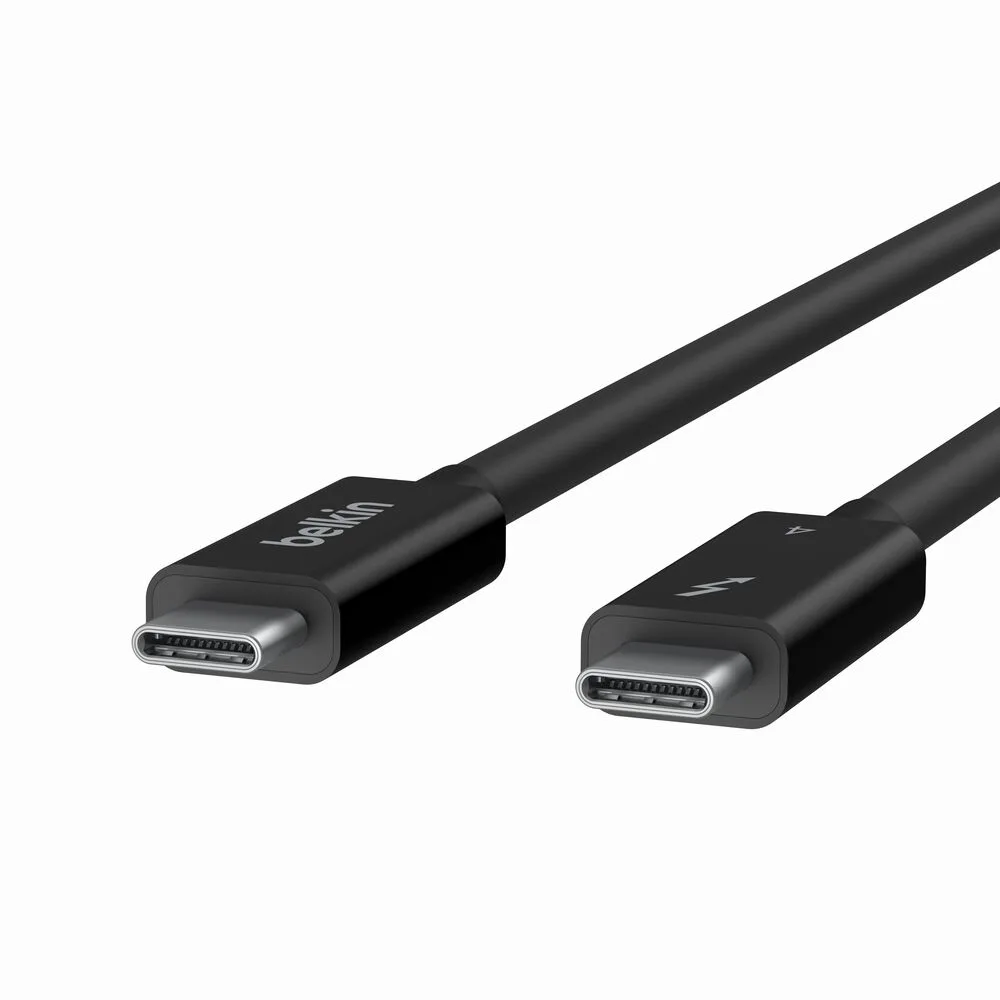
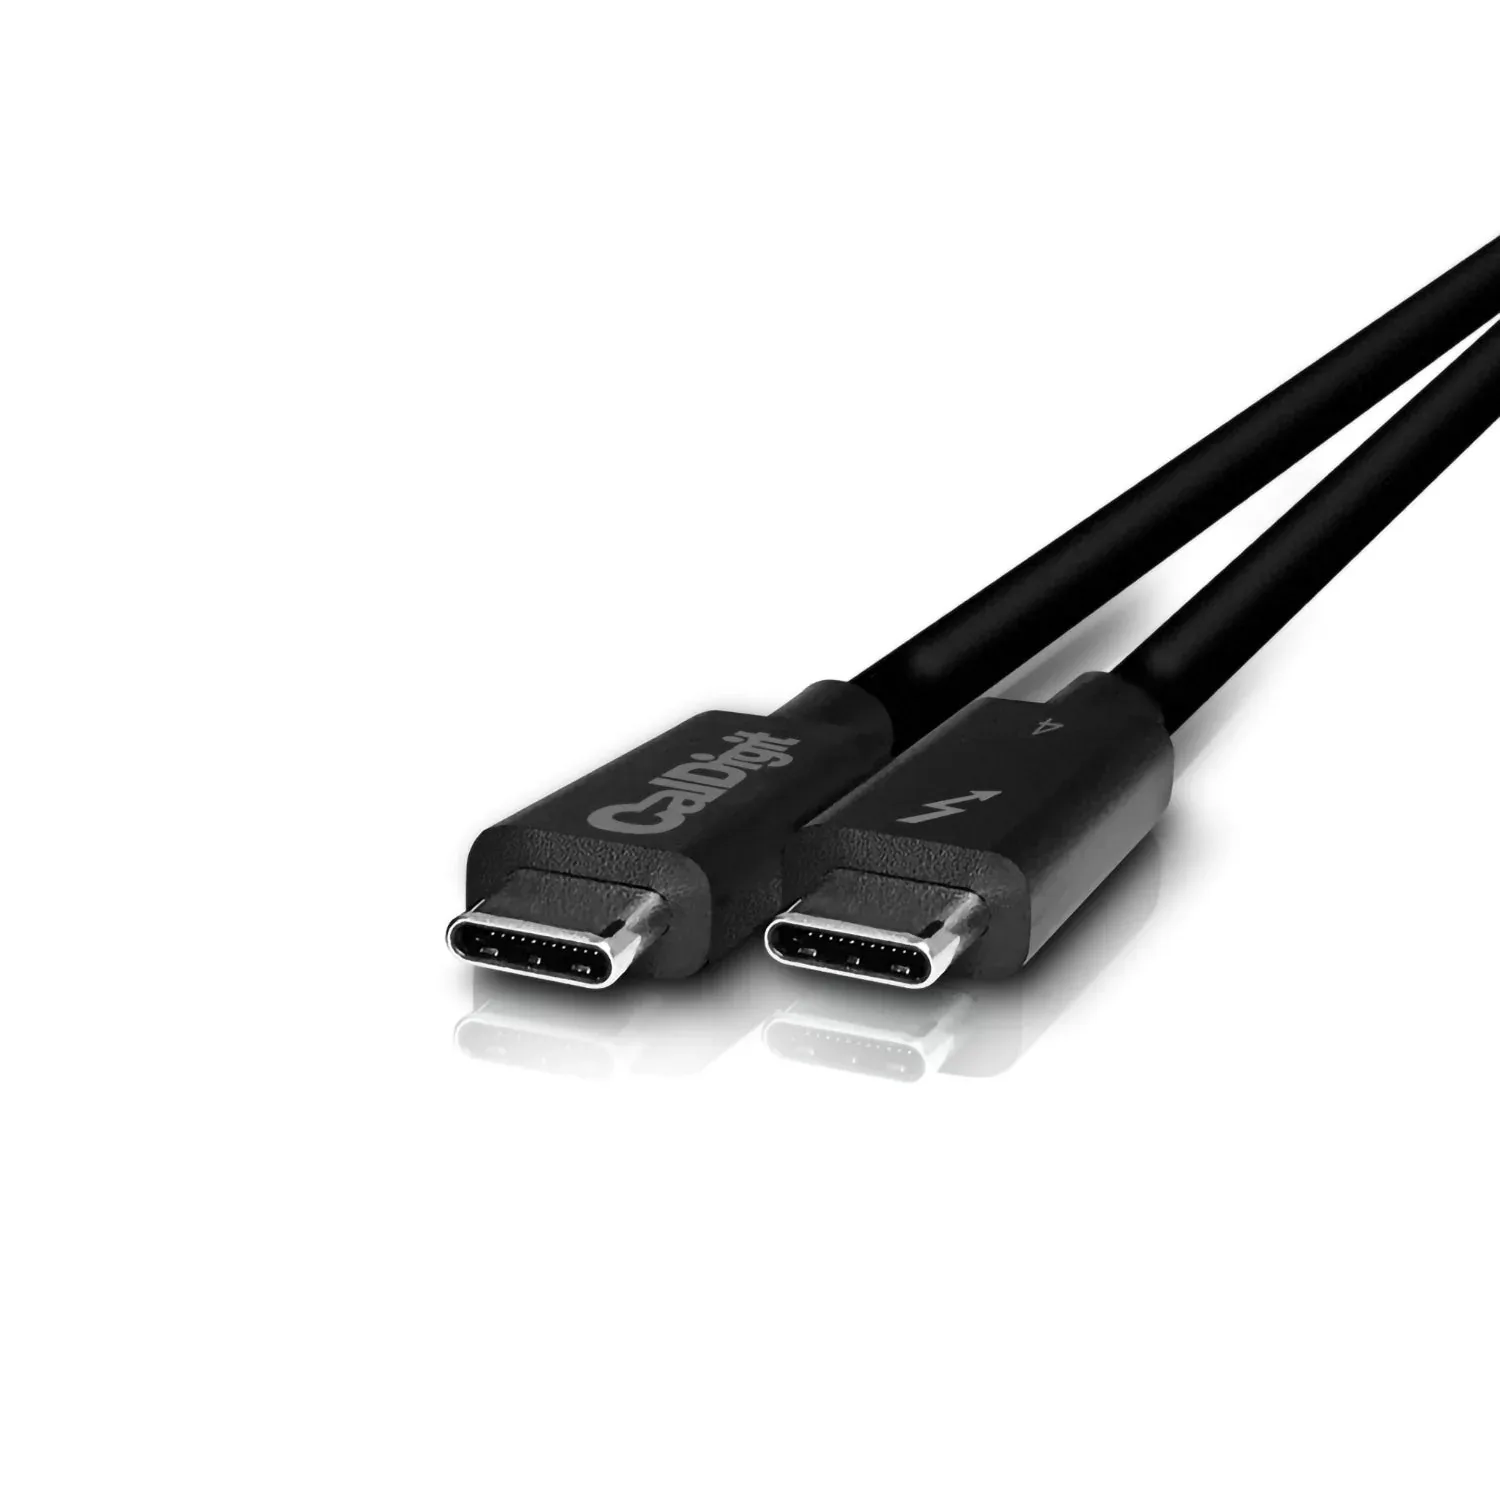
Choose the cable length that reaches the dock without stretching the connection.1 The Plugable Thunderbolt 4 Cable (2m) provides a two-metre connection.1
For a tidy desk with no slack
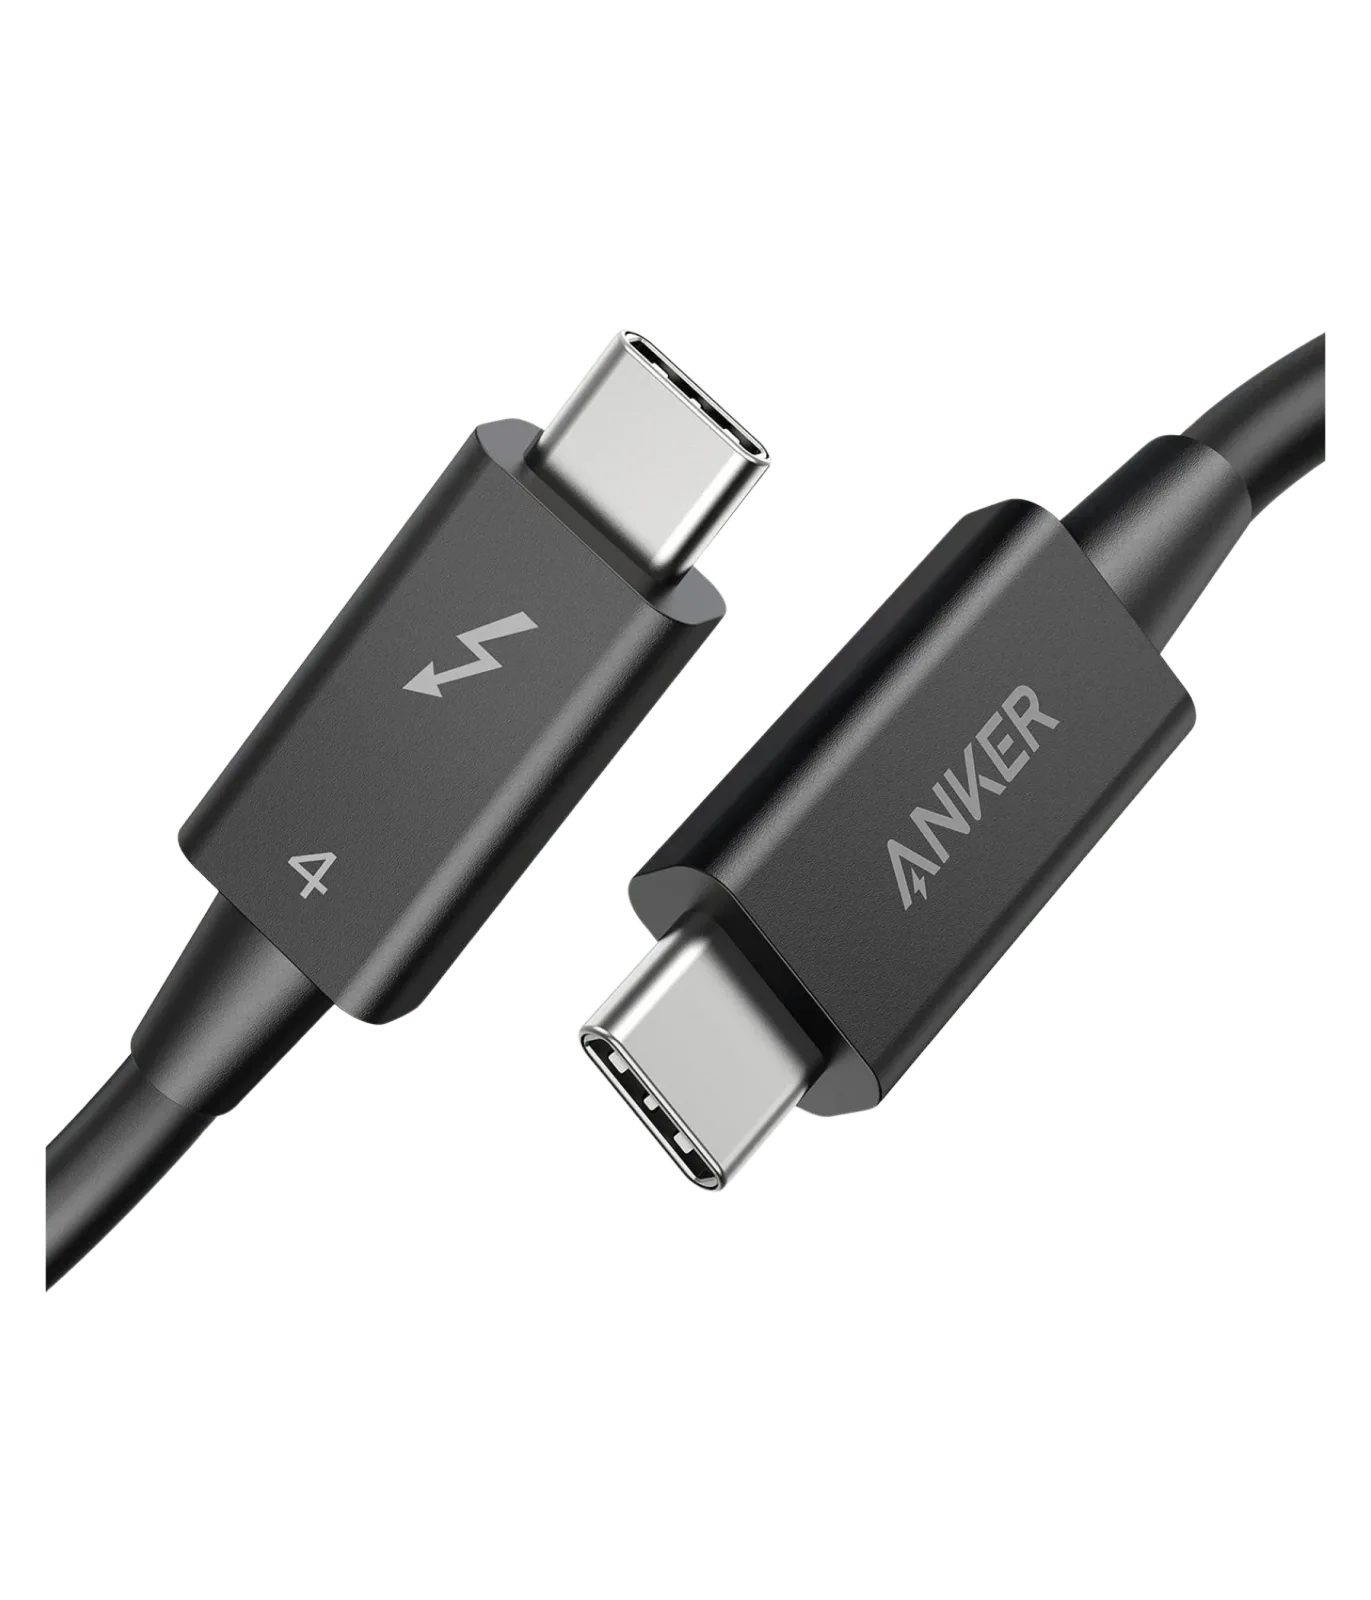
Choose the 0.7-metre Anker Thunderbolt 4 cable when the dock sits close to the laptop and you want less spare cable on the desk. It supports 40Gbps data and up to 100W charging with compatible equipment; measure the route before choosing the short lead.16
For a cable that gets coiled every day
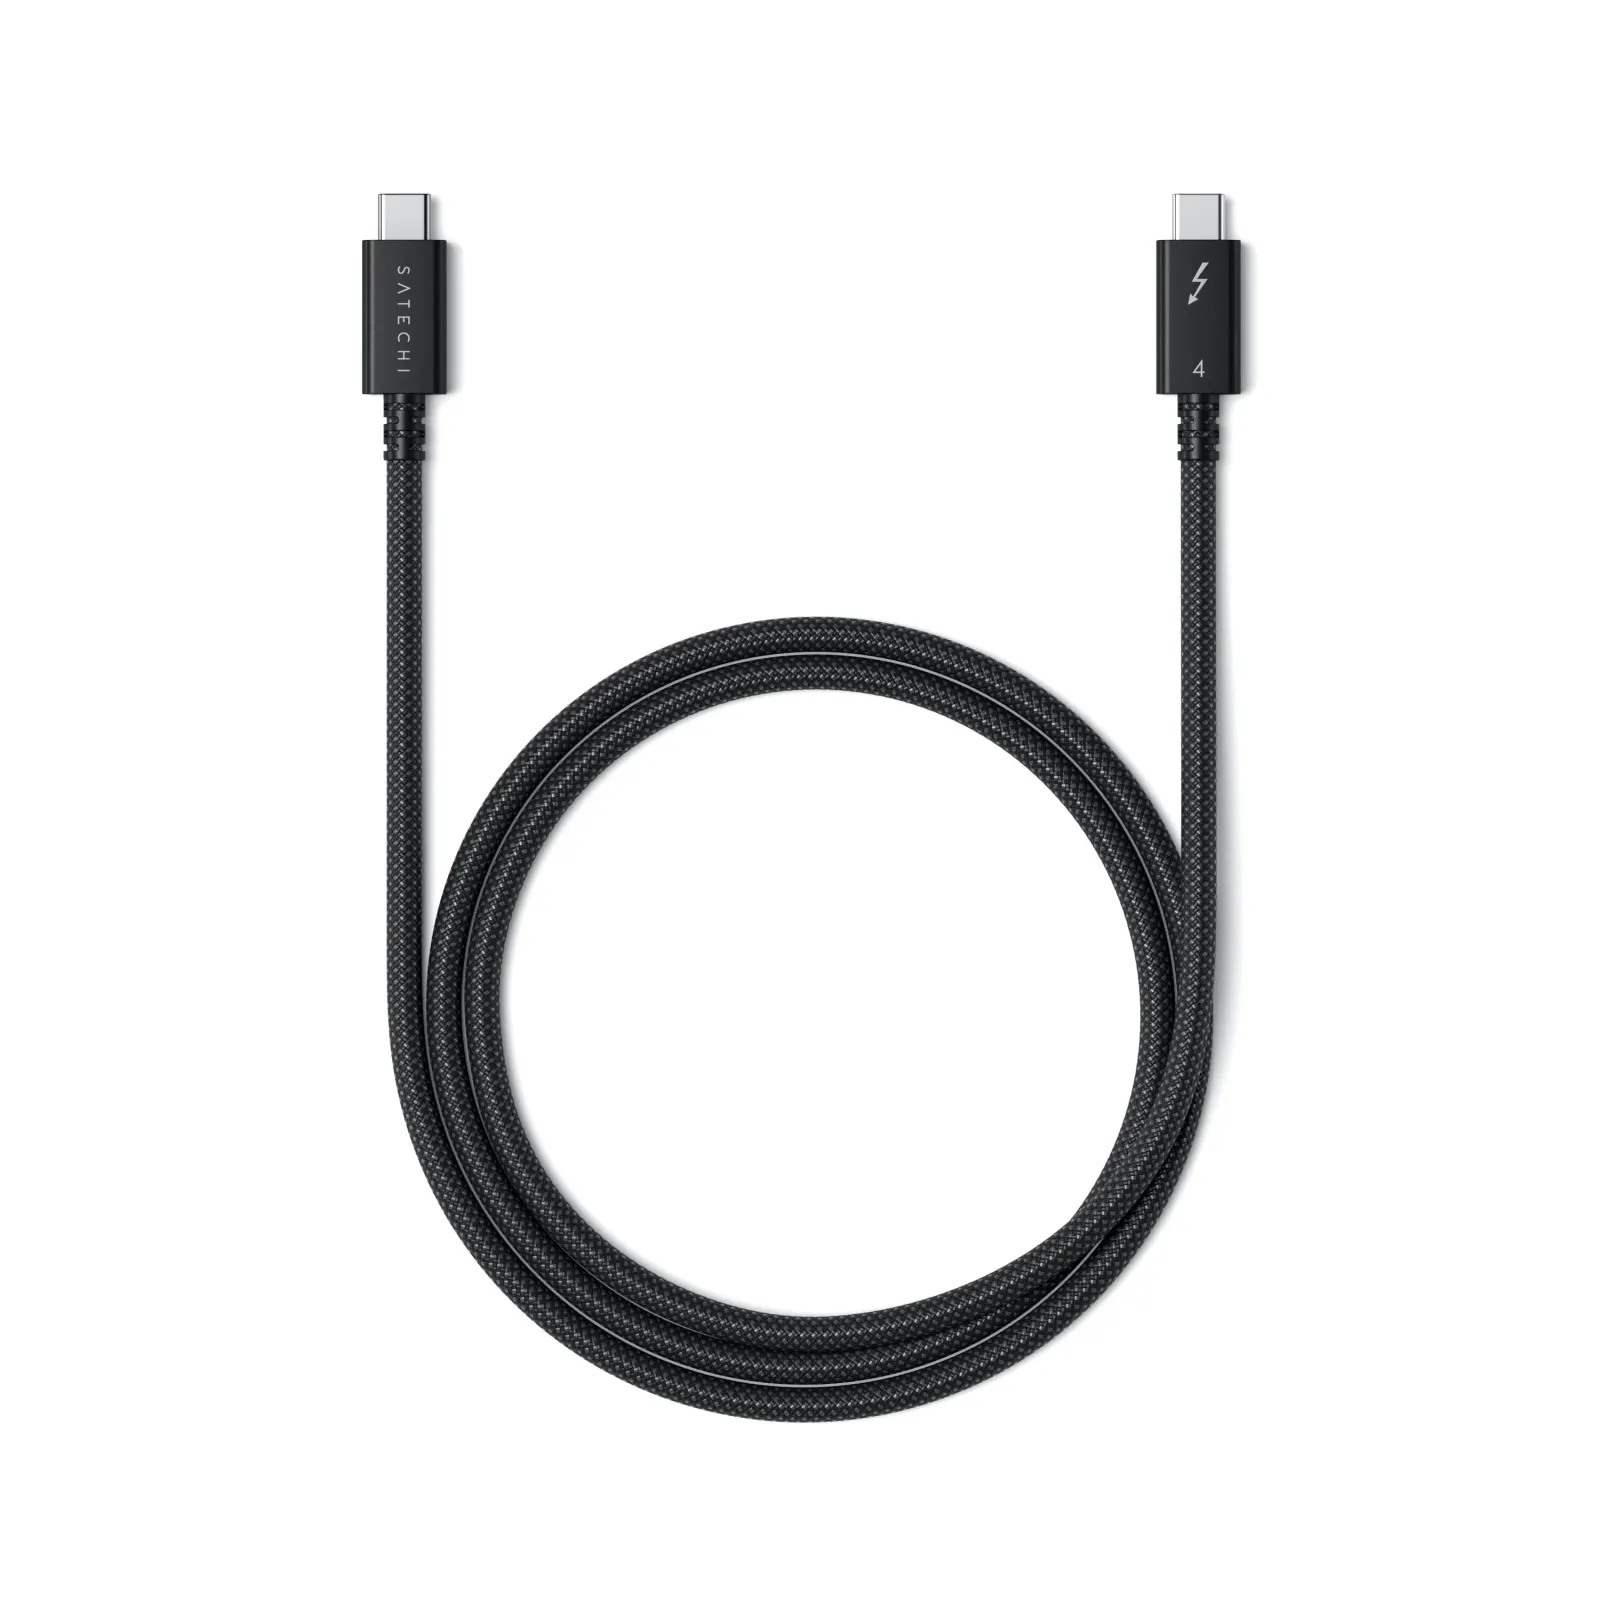
A braided jacket is a cable-covering preference to consider when choosing a lead you handle regularly.9 Choose the Satechi Thunderbolt 4 Pro Cable if you prefer a braided jacket on a one-metre lead.9
Compare the options
10 products
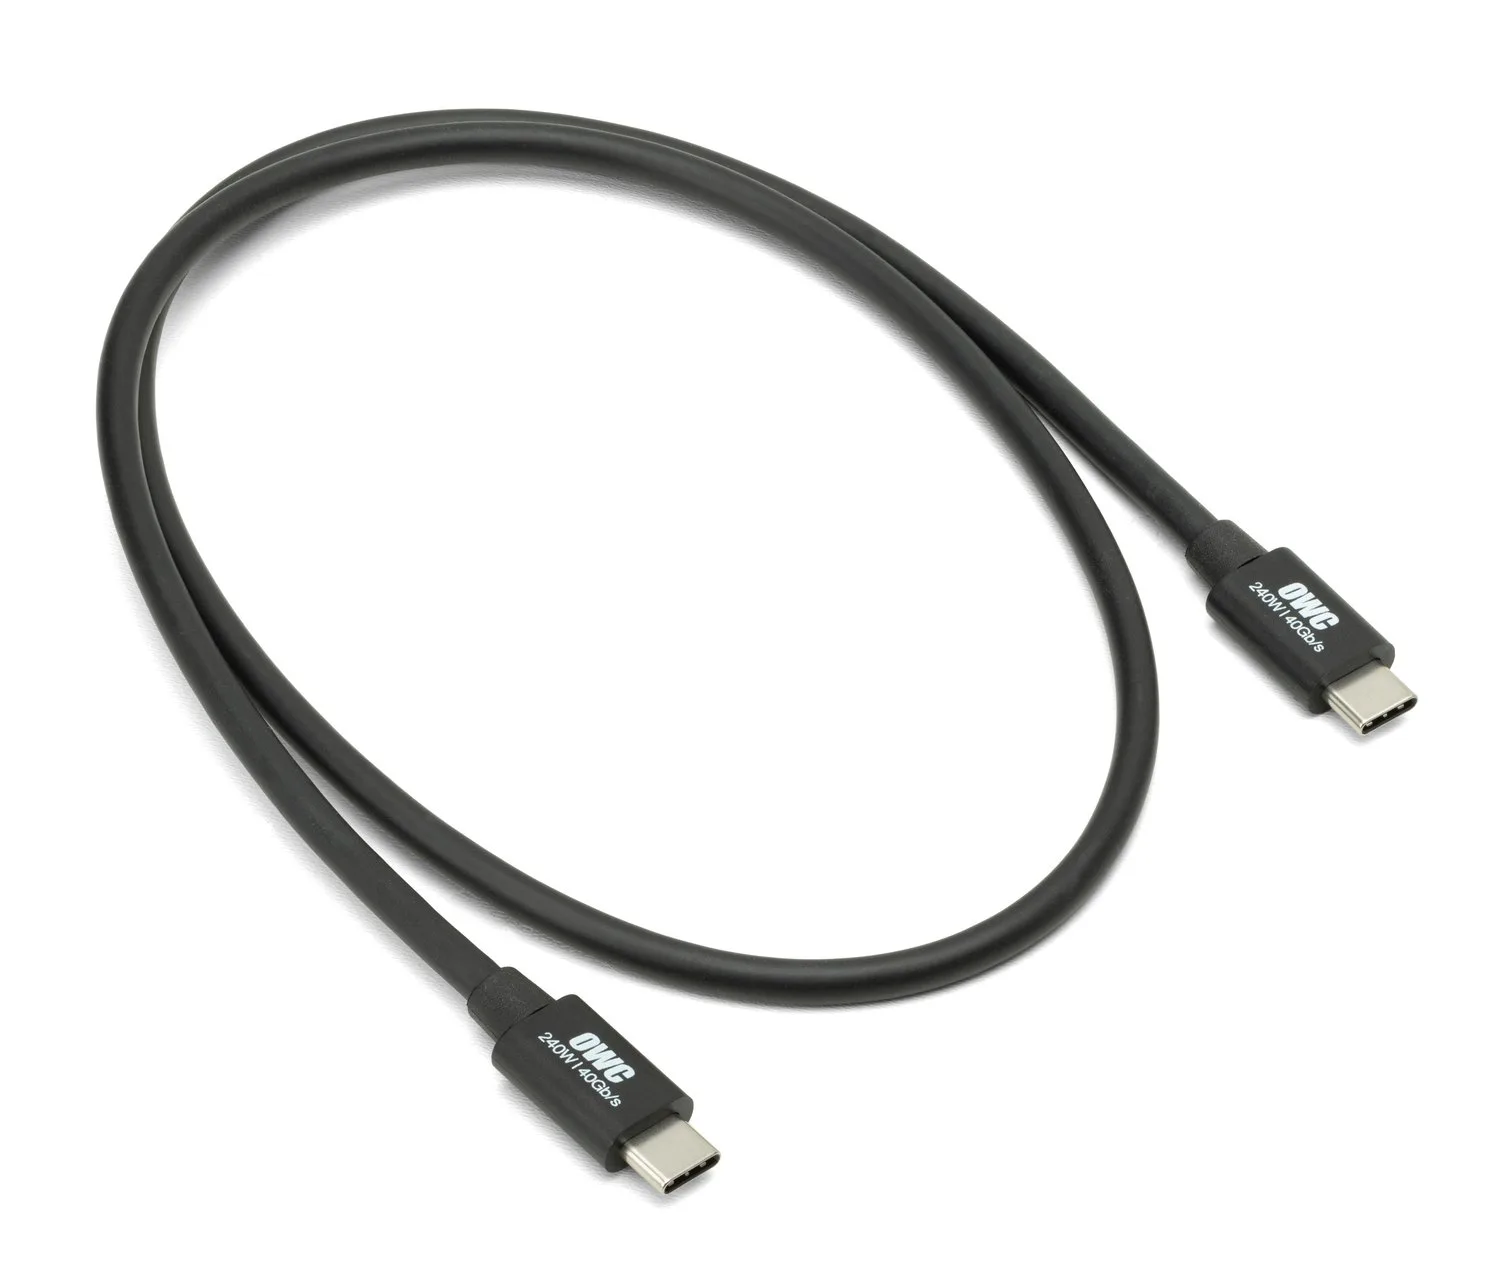
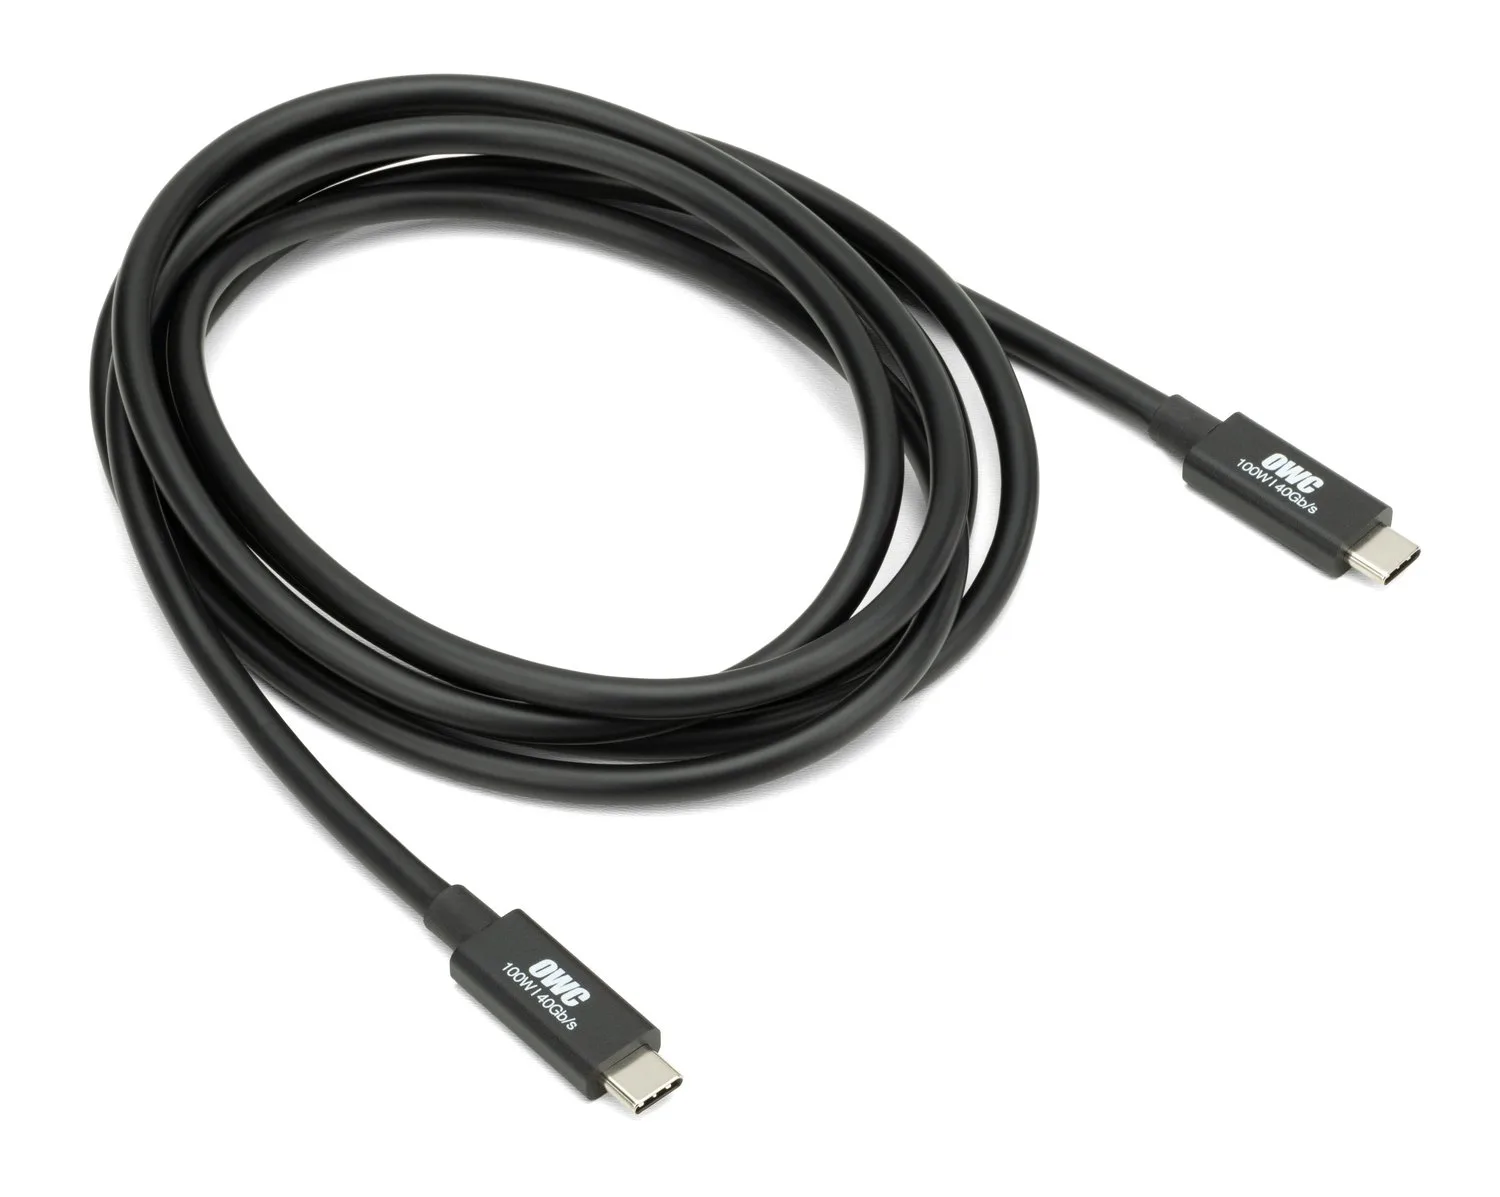
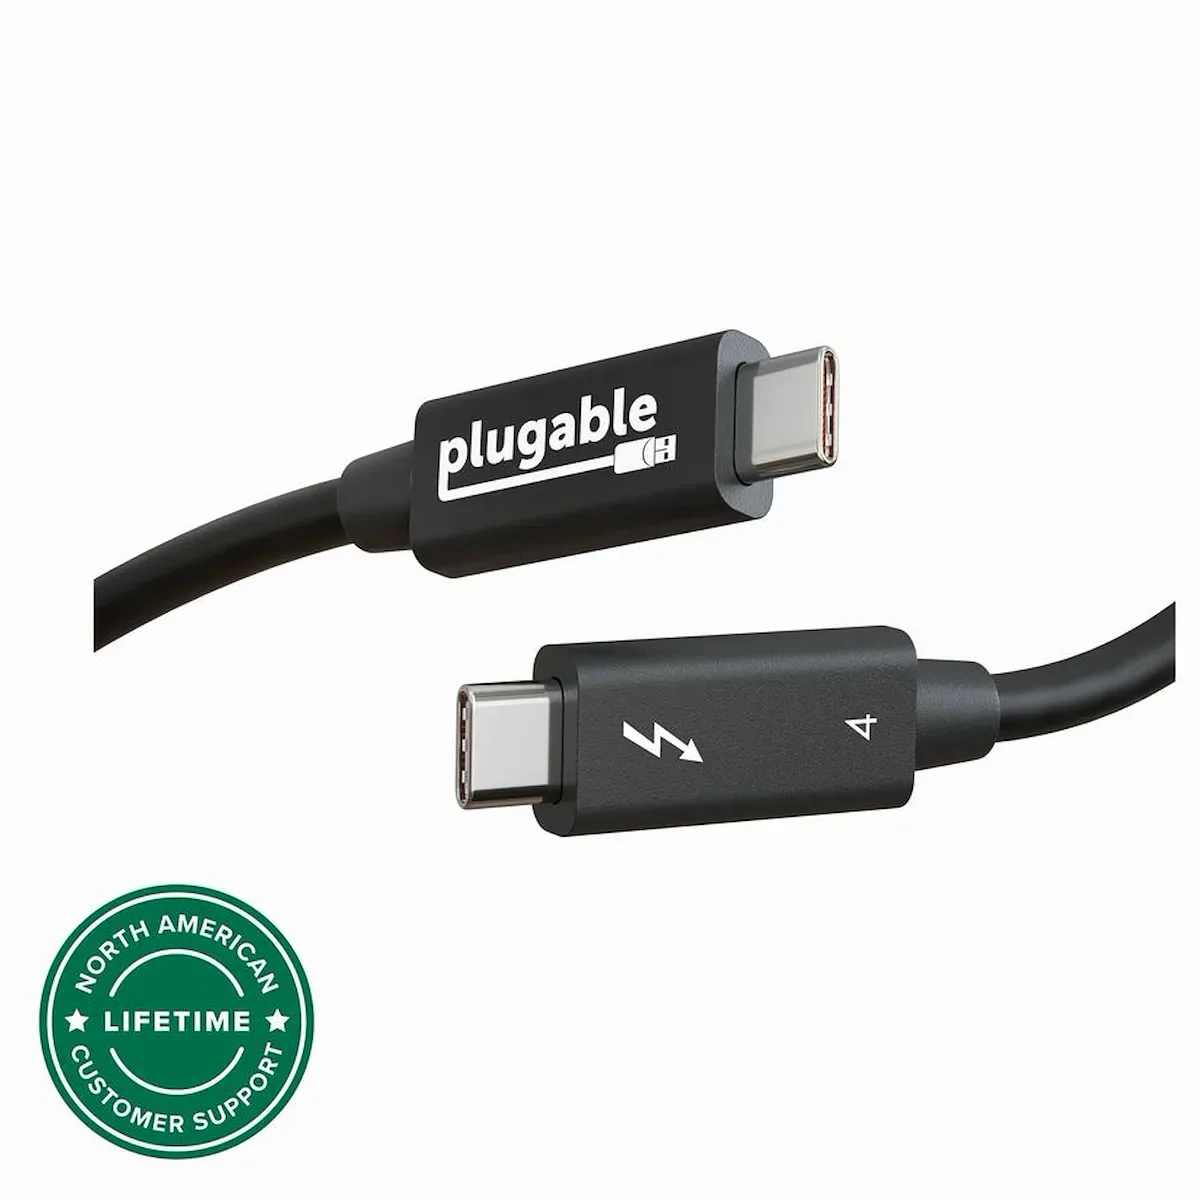
Compare models side by side
Choose two or three products to compare.
Models in this comparison
Every specification for these products
| Specification | Plugable Thunderbolt 4 Cable (1m) | Anker Thunderbolt 4 Cable (0.7m) | Belkin Thunderbolt 4 Cable (1M) | Belkin Thunderbolt 4 Cable (2M) | CalDigit Thunderbolt 4 / USB4 Cable (2.0m) | OWC Thunderbolt 4 / USB-C Cable (0.7m) | OWC Thunderbolt 4 / USB-C Cable (2m) | Plugable Thunderbolt 4 240W EPR cable (1m) | Plugable Thunderbolt 4 Cable (2m) | Satechi Thunderbolt 4 Pro Cable (1m) |
|---|---|---|---|---|---|---|---|---|---|---|
| Thunderbolt generation | Thunderbolt 41 | Thunderbolt 46 | Thunderbolt 42 | Thunderbolt 43 | Thunderbolt 47 | Thunderbolt 41 | Thunderbolt 48 | Thunderbolt 41 | Thunderbolt 41 | Thunderbolt 49 |
| Length | 1 m1 | 0.7 m6 | 1 m2 | 2 m3 | 2 m1 | 0.7 m1 | 2.0 m8 | 1 m1 | 2 m1 | 1 m9 |
| Charging power | 100 W1 | 100 W1 | 100 W10 | 100 W10 | 100 W1 | Up to 240 W11 | 100 W4 | 240 W1 | 100 W1 | 240 W9 |
| Data speed | 40 Gbps1 | 40 Gbps6 | 40 Gbps2 | 40 Gbps3 | 40 Gbps7 | Up to 40 Gbps11 | 40 Gbps4 | 40 Gbps1 | 40 Gbps1 | 40 Gbps9 |
| Active or passive | Passive1 | Passive1 | Passive2 | Active3 | Active1 | Passive1 | Active4 | Passive1 | Active1 | Passive1 |
| Max displays | 21 | 1 (Workload: One cable for one monitor; the maker requires two cables for two 4K monitors.)6 | 110 | 110 | 110 | 1 (Workload: The stated mode uses one 8K display.)11 | 2 (Workload: Two 4K displays or one 8K display, subject to connected device and display support.)4 | 25 | 25 | 19 |
| Max display resolution | 8K1 | 8K10 | 8K10 | 8K10 | 8K7 | 8k (Workload: One 8K display, subject to connected device and display support.)11 | 8k (Workload: One 8K display; the two-display mode is 4K.)4 | 8K5 | 8K5 | 8K9 |
| Braided | — | — | — | — | — | — | — | — | — | Yes9 |
| Max refresh rate | — | — | — | — | — | — | — | — | — | 60 Hz9 |
Compare features
Reset requirements
10 products
How they compare
| Specification | Our pickPlugable Thunderbolt 4 Cable (1m) | Anker Thunderbolt 4 Cable (0.7m) | Belkin Thunderbolt 4 Cable (1M) | Belkin Thunderbolt 4 Cable (2M) | CalDigit Thunderbolt 4 / USB4 Cable (2.0m) | OWC Thunderbolt 4 / USB-C Cable (0.7m) | OWC Thunderbolt 4 / USB-C Cable (2m) | Plugable Thunderbolt 4 240W EPR cable (1m) | Plugable Thunderbolt 4 Cable (2m) | Satechi Thunderbolt 4 Pro Cable (1m) |
|---|---|---|---|---|---|---|---|---|---|---|
| Buy | ||||||||||
| Thunderbolt generation | Thunderbolt 41 | Thunderbolt 46 | Thunderbolt 42 | Thunderbolt 43 | Thunderbolt 47 | Thunderbolt 41 | Thunderbolt 48 | Thunderbolt 41 | Thunderbolt 41 | Thunderbolt 49 |
| Length | 1 m1 | 0.7 m6 | 1 m2 | 2 m3 | 2 m1 | 0.7 m1 | 2.0 m8 | 1 m1 | 2 m1 | 1 m9 |
| Charging power | 100 W1 | 100 W1 | 100 W10 | 100 W10 | 100 W1 | Up to 240 W11 | 100 W4 | 240 W1 | 100 W1 | 240 W9 |
| Data speed | 40 Gbps1 | 40 Gbps6 | 40 Gbps2 | 40 Gbps3 | 40 Gbps7 | Up to 40 Gbps11 | 40 Gbps4 | 40 Gbps1 | 40 Gbps1 | 40 Gbps9 |
| Active or passive | Passive1 | Passive1 | Passive2 | Active3 | Active1 | Passive1 | Active4 | Passive1 | Active1 | Passive1 |
| Max displays | 21 | 1 (Workload: One cable for one monitor; the maker requires two cables for two 4K monitors.)6 | 110 | 110 | 110 | 1 (Workload: The stated mode uses one 8K display.)11 | 2 (Workload: Two 4K displays or one 8K display, subject to connected device and display support.)4 | 25 | 25 | 19 |
| Max display resolution | 8K1 | 8K10 | 8K10 | 8K10 | 8K7 | 8k (Workload: One 8K display, subject to connected device and display support.)11 | 8k (Workload: One 8K display; the two-display mode is 4K.)4 | 8K5 | 8K5 | 8K9 |
| Braided | — | — | — | — | — | — | — | — | — | Yes9 |
| Max refresh rate | — | — | — | — | — | — | — | — | — | 60 Hz9 |